
Re-rendering a house
Render Removal & Replacement
When old render is cracked, hollow, stained or coming away, patching only goes so far. Taking it off and starting again with the right system gives you a sound wall and a finish you can rely on.
Signs your render may need replacing
- Areas that sound hollow when tapped, or bulge away from the wall
- Cracks that keep coming back after repair
- Render breaking away at the base of the wall, around windows or at corners
- Damp patches or staining inside that line up with defects outside
- Painted render that peels every few years
- Patchwork repairs in different colours and textures
Not every problem means full removal. Small sound areas can sometimes be repaired, and some surfaces can be overcoated. See rendering over existing render. The key is an honest assessment.
1. Removing damaged or unsuitable render
We remove the existing render back to a sound background, taking care around windows, doors and services. It's a noisy, dusty stage, so we plan it carefully: everything is protected beforehand, debris is contained and removed, and you'll know in advance when it's happening.
2. Assessing the substrate underneath
Once the old render is off, we can see what's really going on: the type and condition of the brick or block, any previous repairs, mixed materials, cracks in the masonry or problems at the base of the wall. This is often where the cause of the original failure becomes clear, and it shapes the system we put back on.
3. Preparation
Preparation might involve cleaning down, repairing or making good the masonry, treating areas with different suction, dealing with junctions between materials, and fixing beads accurately to corners, reveals and the base of the render.
4. Installing an appropriate replacement system
We don't believe every property needs the same system. Depending on the background, exposure and the look you want, the replacement could be a silicone system over a mesh-reinforced basecoat, a monocouche render, or in some cases an insulated system. Each is installed to the manufacturer's specification.
5. Mesh reinforcement where required
Older walls are rarely perfectly uniform. Where the system or background calls for it, reinforcing mesh embedded in the basecoat helps spread stresses and reduce the risk of cracking, particularly across mixed materials and around openings.
6. Finishing
The final finish is applied, detailed around every opening and junction, and the site is cleaned down. Fittings are refitted where agreed, and we walk round the house with you before the scaffold is removed.
Render replacement projects
From failing render to a fresh finish
 After
 Before
 After
 Before
Clevedon · Detached house
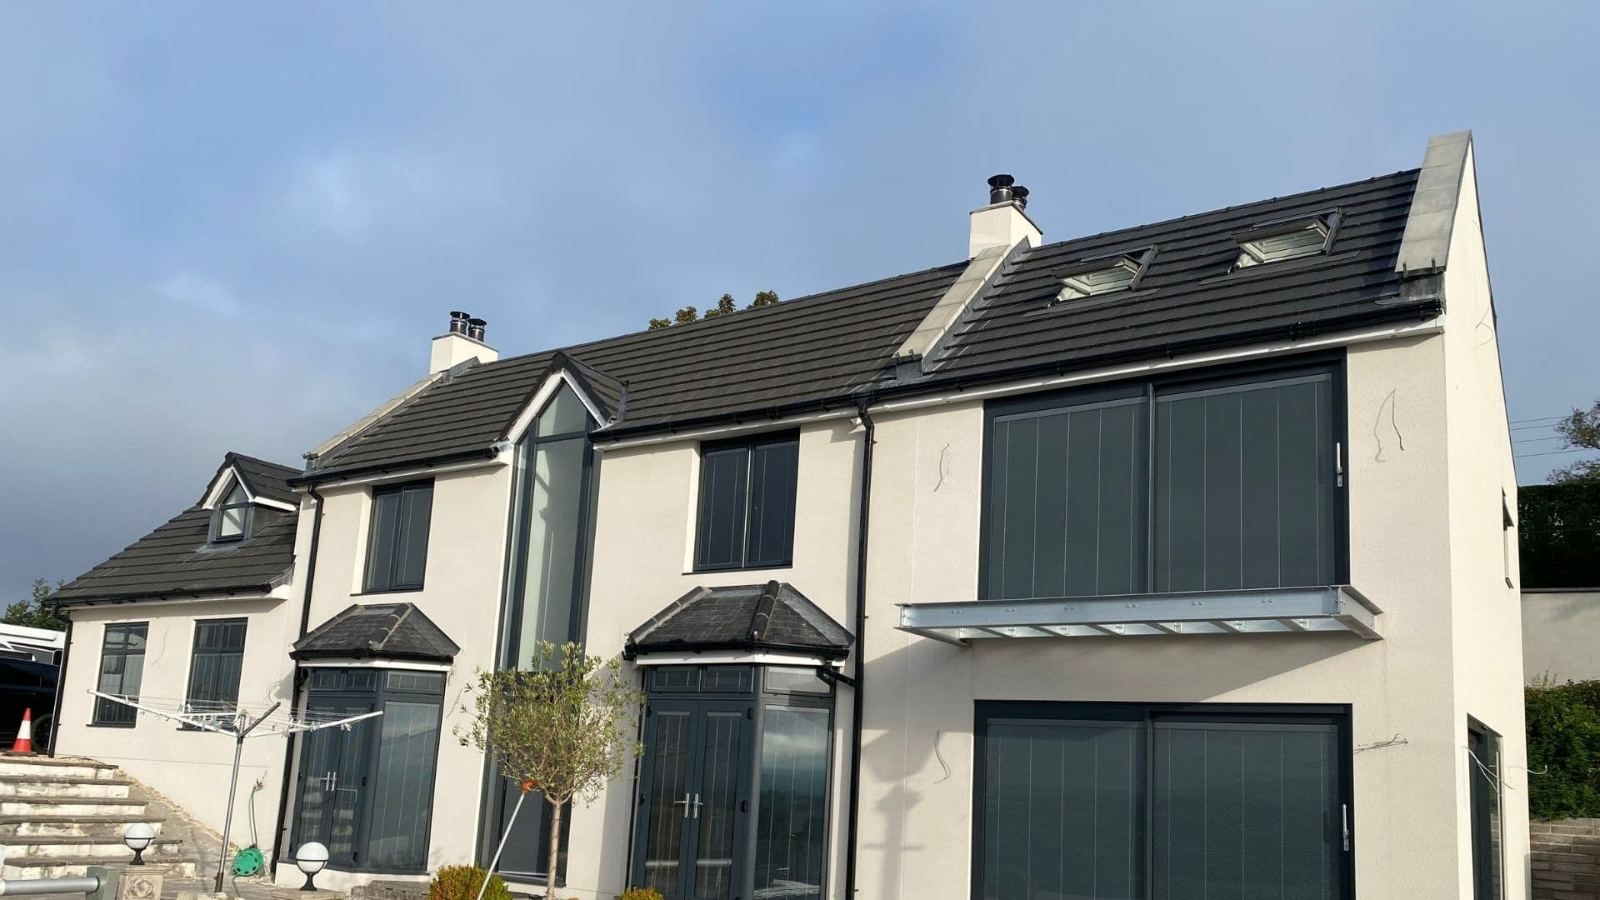
Insulated Monocouche Re-Render, Clevedon
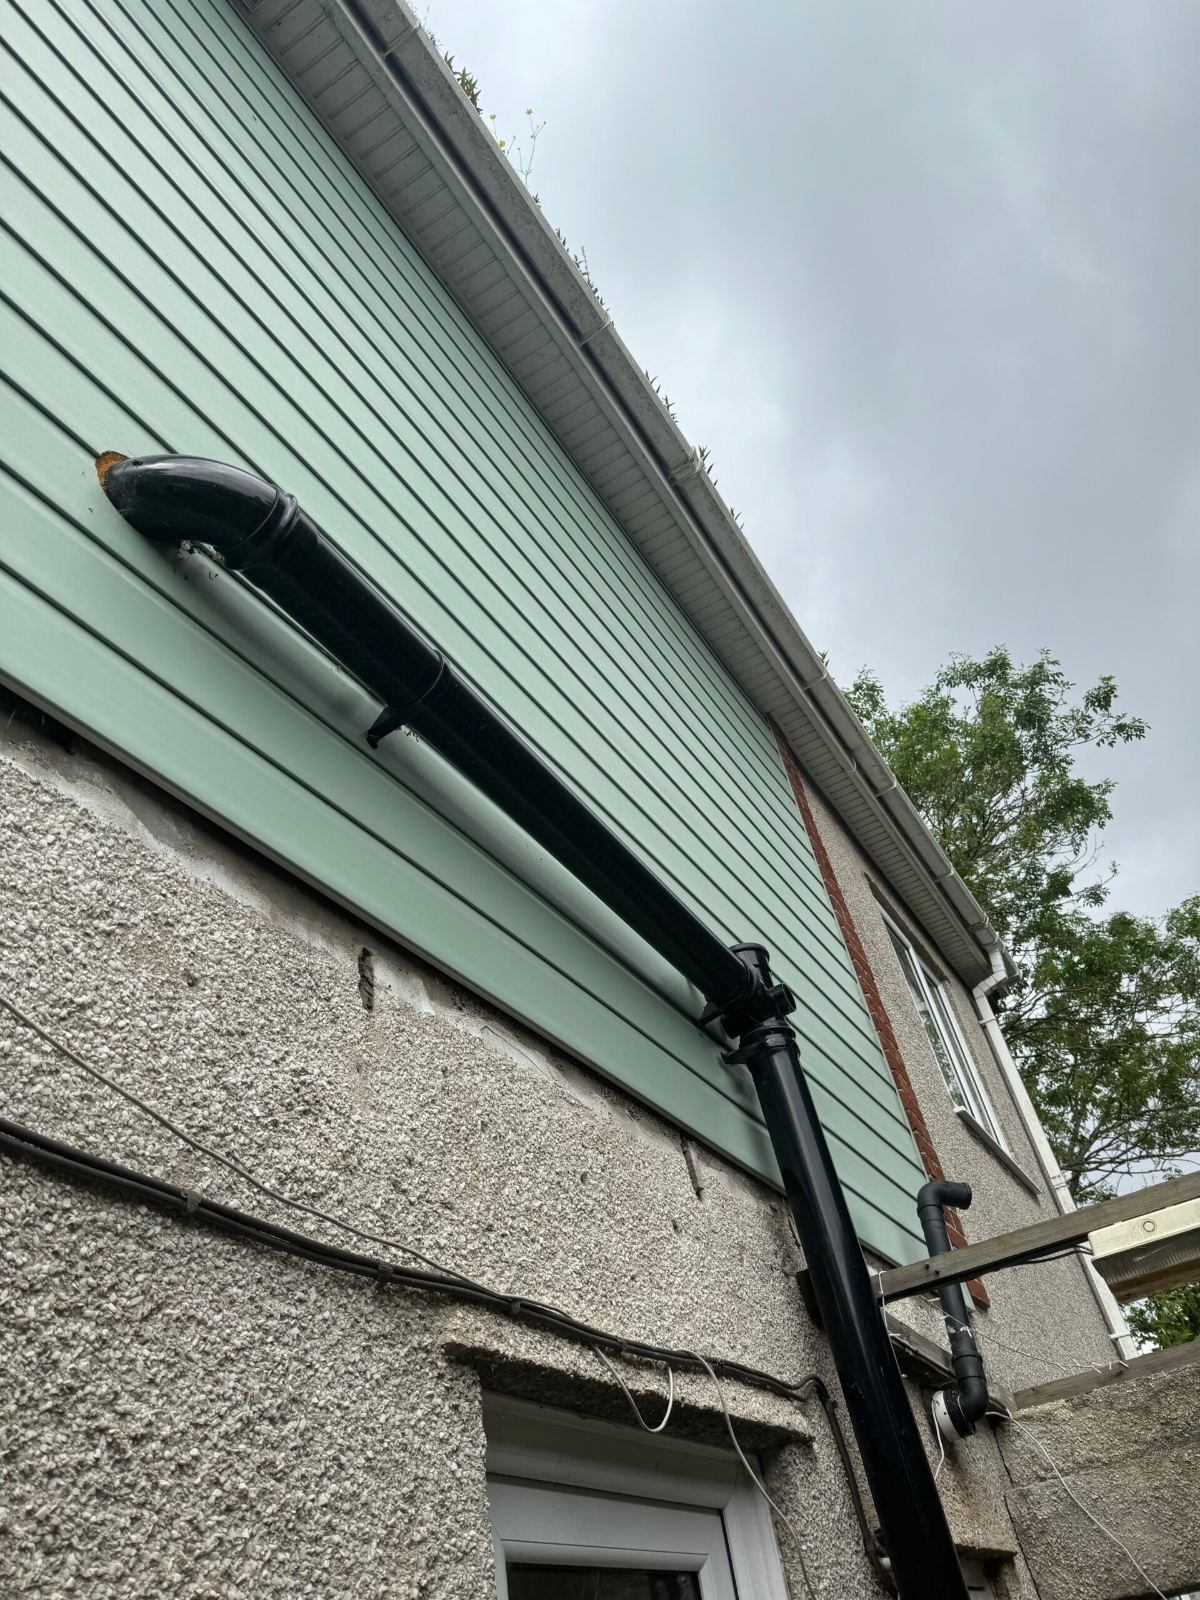
Tired render and dated cladding replaced with one clean monocouche finish, with insulation added where the cladding came off.
View projectTickenham · Detached house
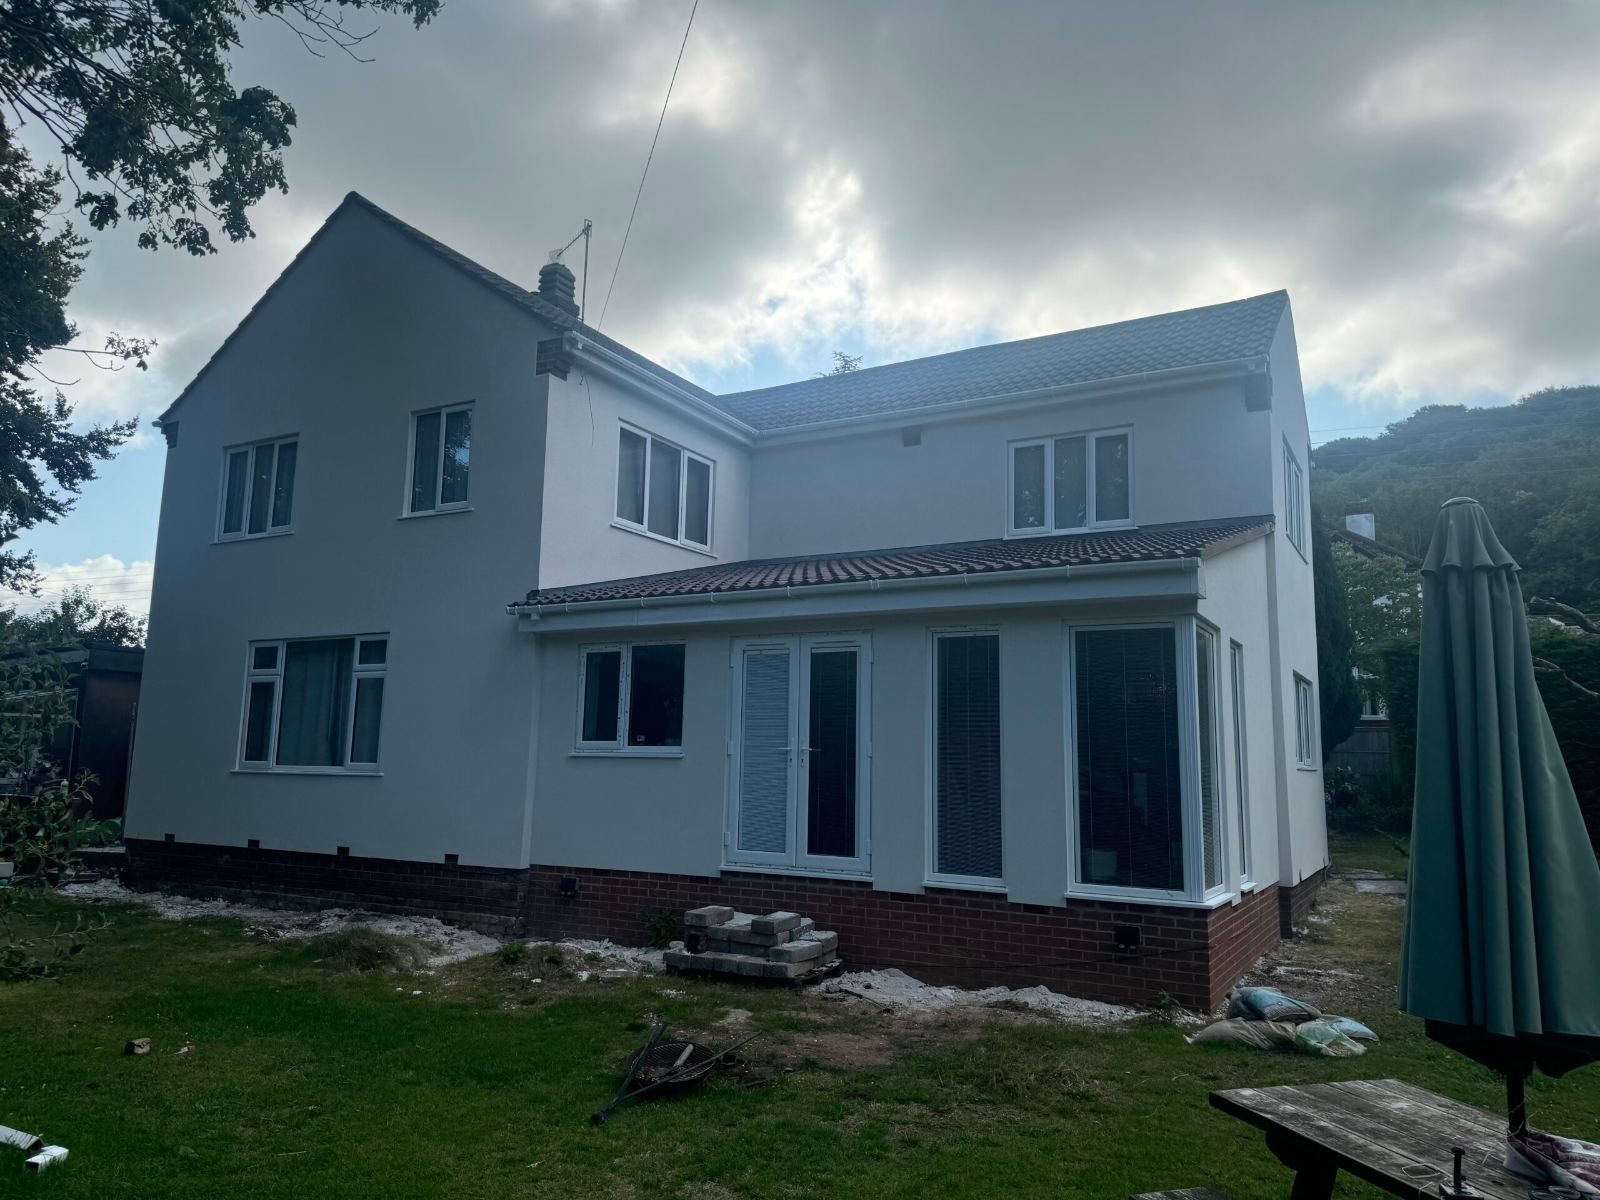
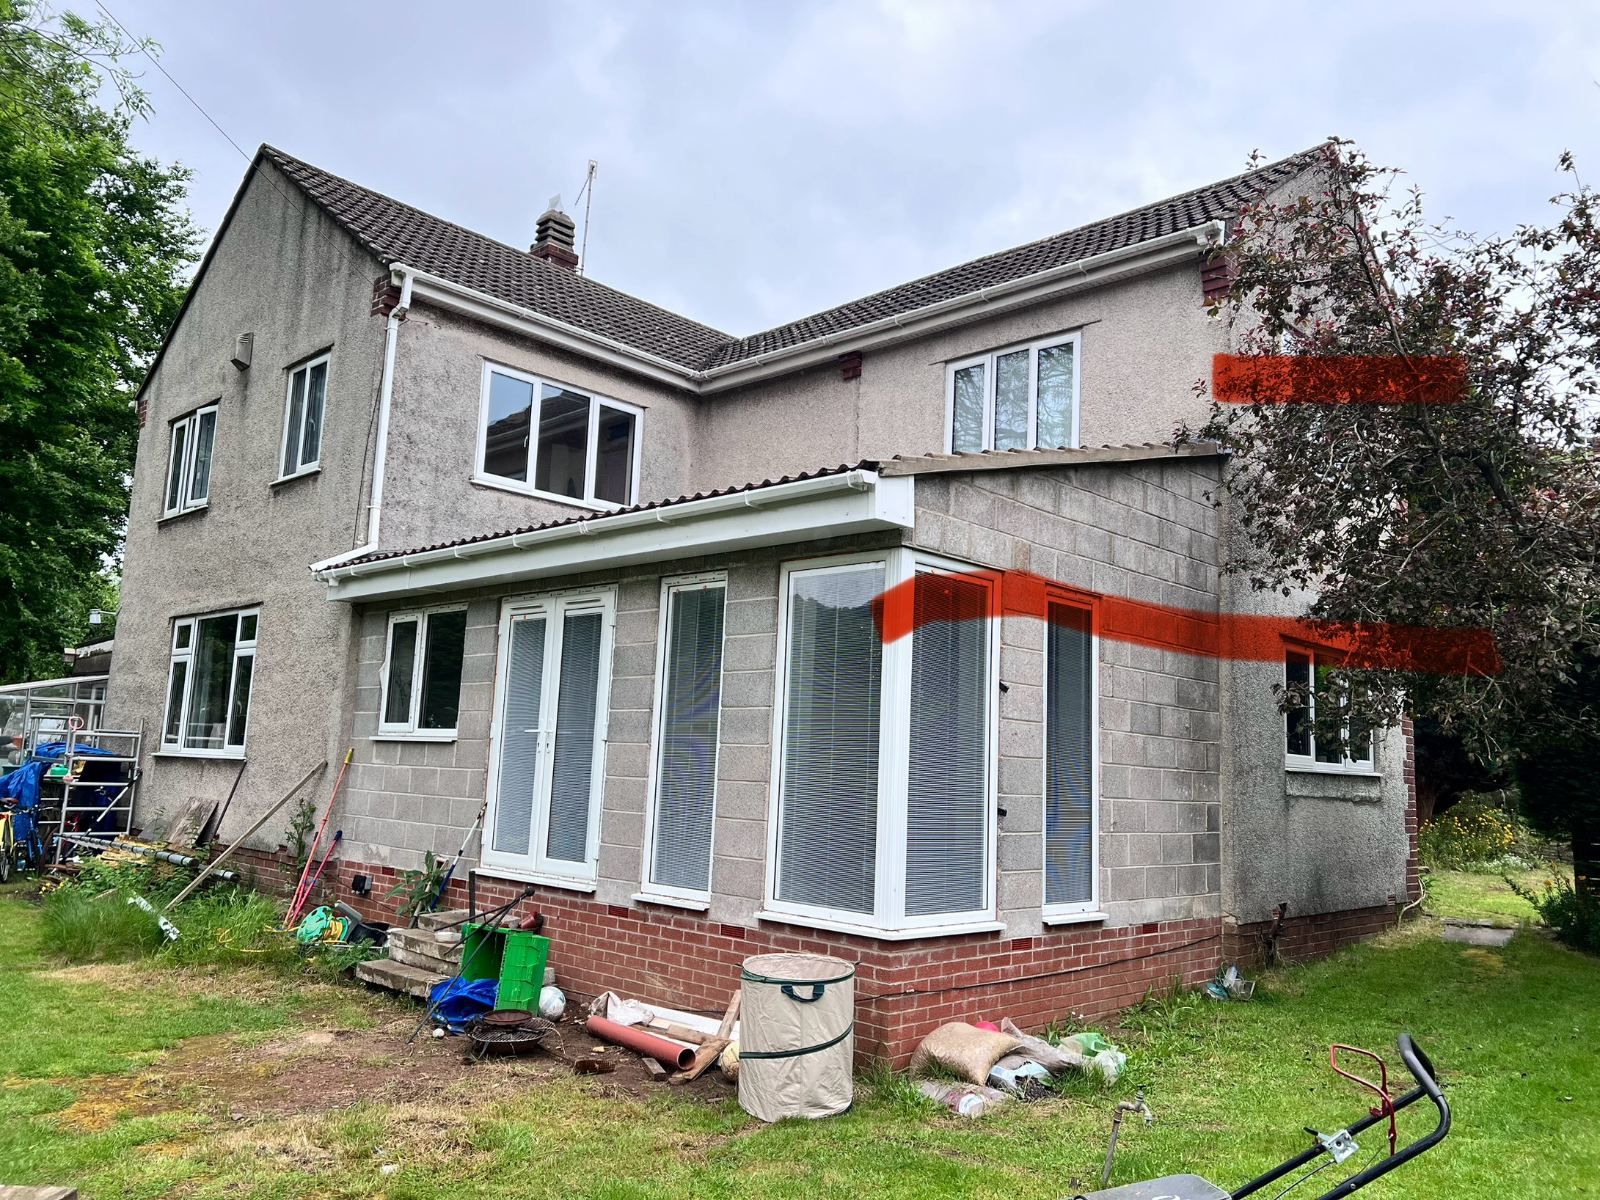
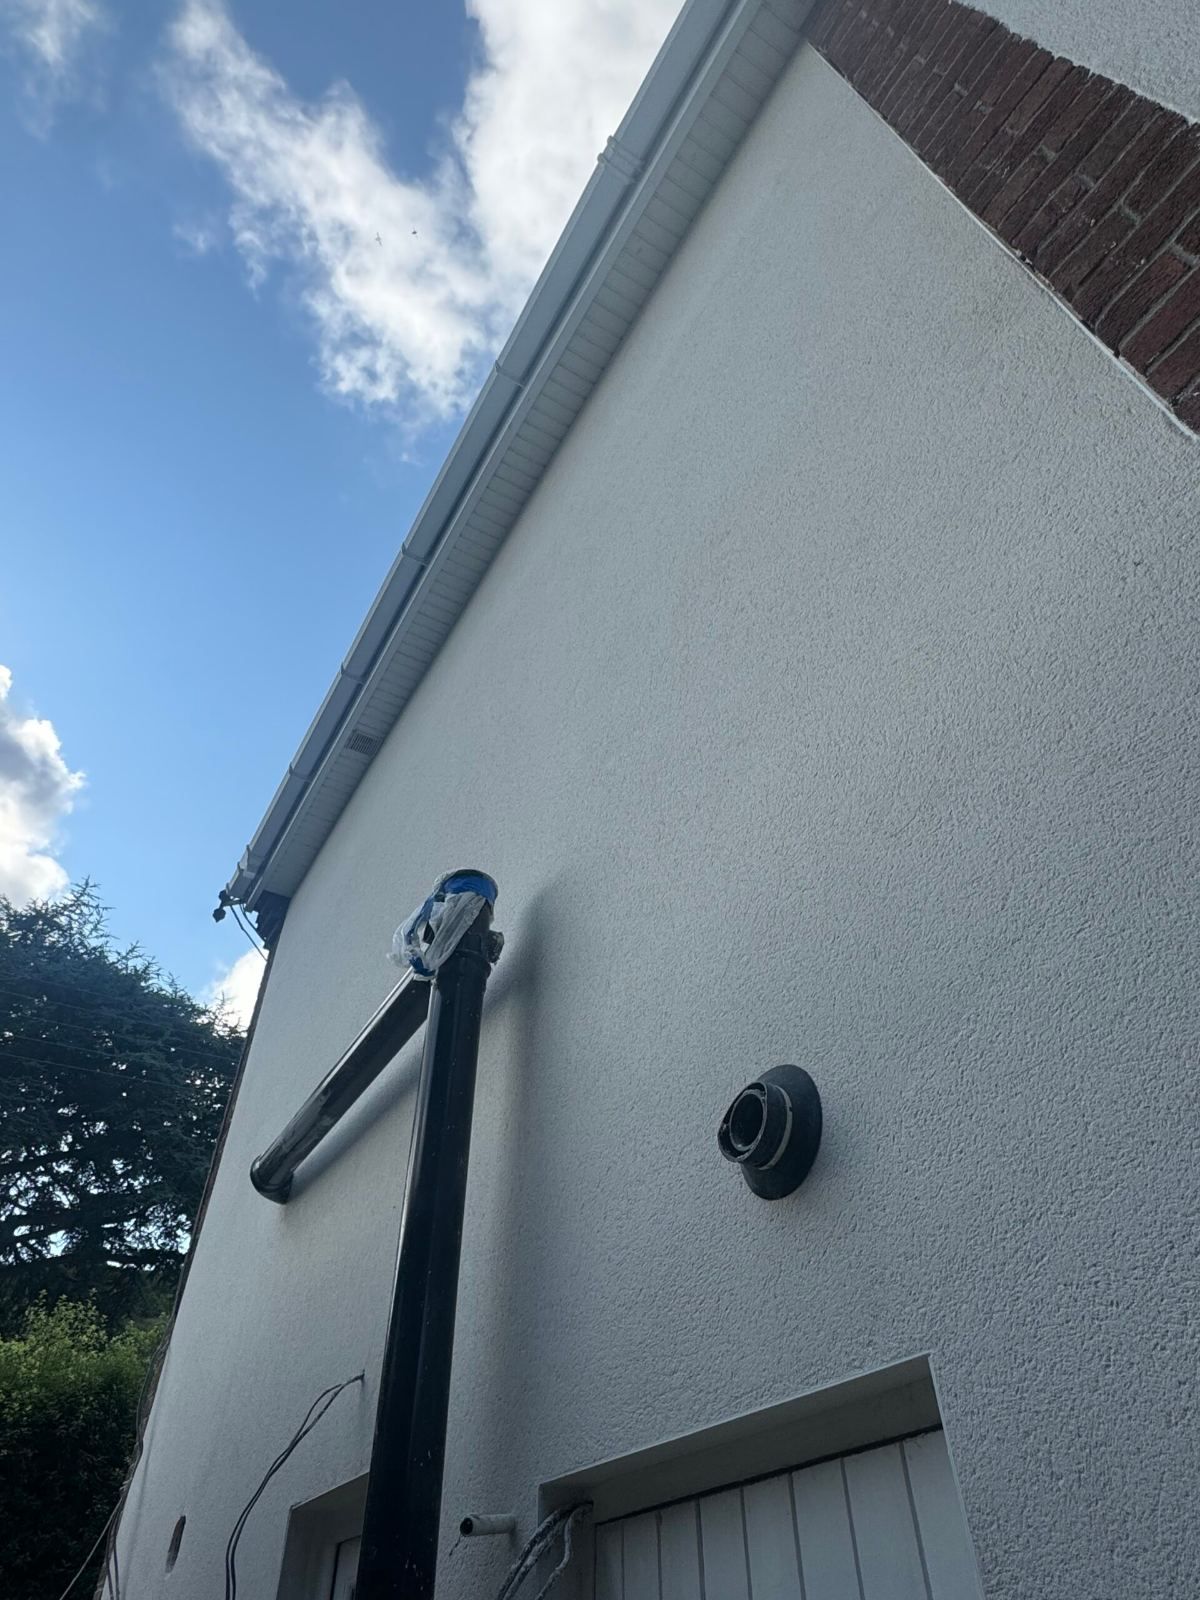
Full Re-Render, Tickenham
Tired, broken render hacked off the whole house and replaced with a modern, consistent finish.
View projectFAQs
Render replacement questions
How do you know if old render needs removing?
We look for hollow-sounding areas, cracking, bulging, damp patches, render that's breaking away at the base or around openings, and coatings that aren't compatible with the new system. Small sound areas might be repaired; widespread problems usually mean removal is the better long-term choice.
Is it messy to remove render?
Removing render is noisy and dusty, so we plan it carefully: protecting windows, doors and the ground, keeping waste contained and clearing up as we go.
Related pages
Worried about your existing render?
Send us a few photos and your postcode. We'll arrange a visit and give you a clear, written quote.